

I have been busy making a stock up of Easter goodies that are going to go to a lovely shop near by called Abode. This came about by a chance visit to a tea shop that I had been recommended by my hairdresser! It was just before Christmas and we saw this lovely shop opposite full of lovely things and decided to go and take a look after our lunch. I noticed that she had some very basic little crochet owls and asked the owner if she had someone local making these, to which she replied that she had just brought them wholesale. I mentioned that I made things (that were far superior) to these and by the end of our conversation she had asked me to bring in some examples of Easter bits in January for her to have a look at. I made up a variety of bits over Christmas (this felt very odd Easter at Christmas!) took them in and she was so positive asked for 18 of everything! They are going in next week on a sale or return basis.
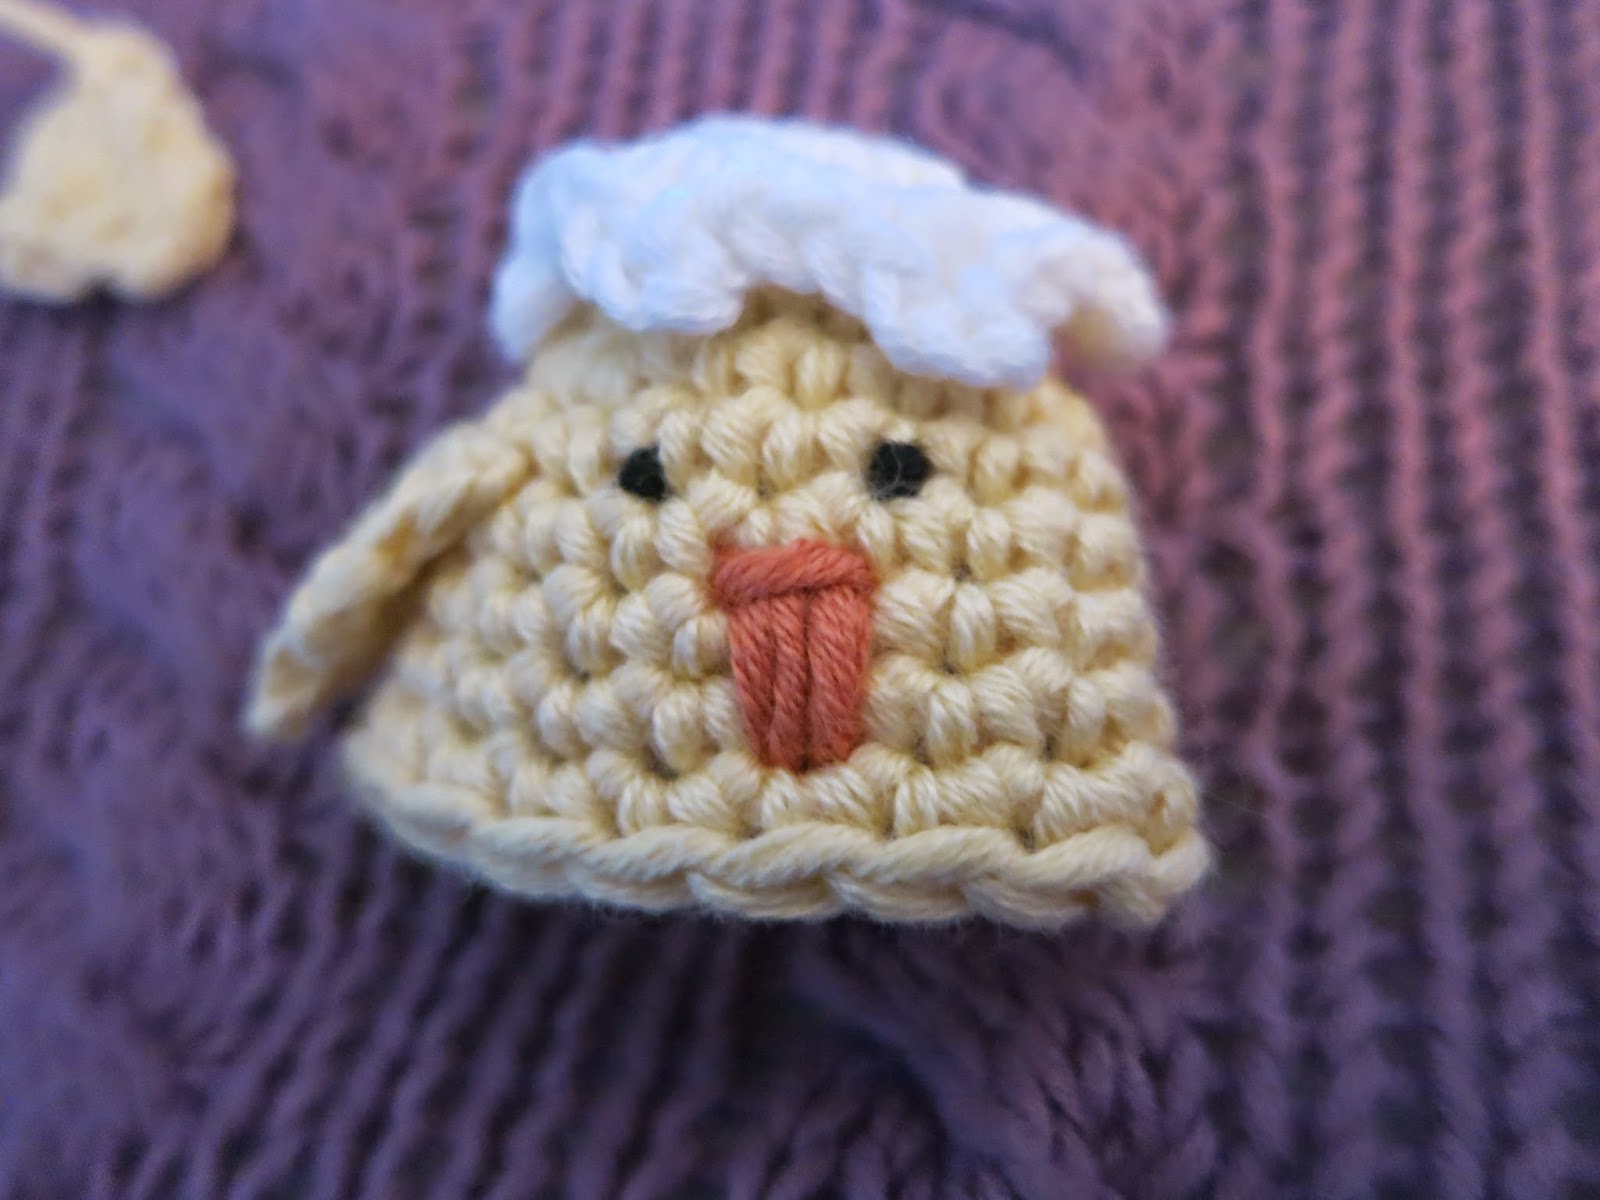
One of the patterns I made up after perusing Pinterest was little pop open Easter chicks so, having made the pattern and lots and lots of chicks, I thought it was about time I gave a pattern away! So how do you fancy making one of these little fellows?
Tiny Easter Pop Open Chick

A small plastic egg (I got mine from The Range). They are approximately 6 cm tall, these are just the right size to hide a mini cream egg (from a multipack) or a little mini egg.
Debbie Bliss Eco-baby yarn in yellow, orange, white and black.
2.75mm crochet hook.
1 darning needle.
acrylic glue.
I use UK crochet terms throughout this pattern.
Bottom Egg Shell
Row one - using white work 6 dc into a magic circle and pull tight. If you need help with a magic circle this is great video, though please note it is using American crochet terms not English, American single crochet is UK double crochet.

Do not join or chain one as you are going to work in continuous rounds.
Row two - in next six stitches you are going to work 2 double crochet (2dc) in each one. (12 stitches)


Rows four to eight - work 1 dc in each stitch around (18 stitches)

Row nine - (work 1 dc in next stitch, chain 3 and the work 1 dc into the same beginning stitch, work 1 dc in next stitch), repeat the brackets until you come around to the first chain 3 loop, slip stitch into this loop and fasten off yarn.
Top Egg Shell
Work rows one and two as for bottom egg shell.
Row three - (work 1 dc in next stitch, chain 3 and the work 1 dc into the same beginning stitch, work 1 dc in next stitch), repeat the brackets until you come around to the first chain 3 loop, slip stitch into this loop and fasten off yarn.

Row one - using yellow work 6 dc into a magic circle and pull tight. (6 stitches)

As with shell you are going to work the head in a continuous round.
Row two - (1 dc into the next stitch, 2dc into the next stitch), repeat this 3 times (9 stitches)

Row three - (1 dc into the next two stitches, 2 dc into the next stitch), repeat this 3 times (12 stitches)

Row four - (1 dc into the next three stitches, 2 dc into the next stitch), repeat this 3 times (15 stitches)

Row five - (1 dc into the next four stitches, 2 dc into the next stitch), repeat this 3 times (18 stitches)

Rows six to ten - work 1 dc into each stitch around, slip stitch into next stitch and fasten off (18 stitches)

Chick Wings x 2
In yellow chain five stitches.

Row one - work 1 dc in the second chain from the hook, work 1 dc in next 3 stitches, chain one, turn work

Row two - work 1 dc decrease in the next two stitches, repeat in the last two stitches, chain one, turn work

Row three - work 1dc decrease in the two remaining stitches, fasten off.

Chick Legs and Feet x 2
In orange chain six stitches.

(Work 1 dc in second chain from the hook, work 1 dc in the next stitch, chain 3), repeat this three times.


Slip stitch into the fourth chain from the starting tail and then work 1dc in remaining 3 stitches.


Making Up

Finish off the end tail on the top egg shell. Leave the beginning tail as you will use this to stitch the shell to the head.
Thread needle to beginning tail of top egg shell and place needle down into the centre of the magic circle in the chick head, bringing the needle out approximately 2 rows down (I make sure this is the same position of the end tail of the chick head,
clearly making the back of the chick). Stitch into the edge of the egg shell and then using a back stitch work all the way around, fastening off inside the chick head so that you have no threads on the outside.


Next take a short piece of black yarn to make the eyes(I split the yarn strands in half to make the eyes quite small). On the inside of the chick head under the shell at the top, fasten in yarn. Turning the chick head the right way round bring the needle through (I always use the opposite side to where the end of tail of the chick head is). Re-insert the needle through one piece of yarn and then back in again.


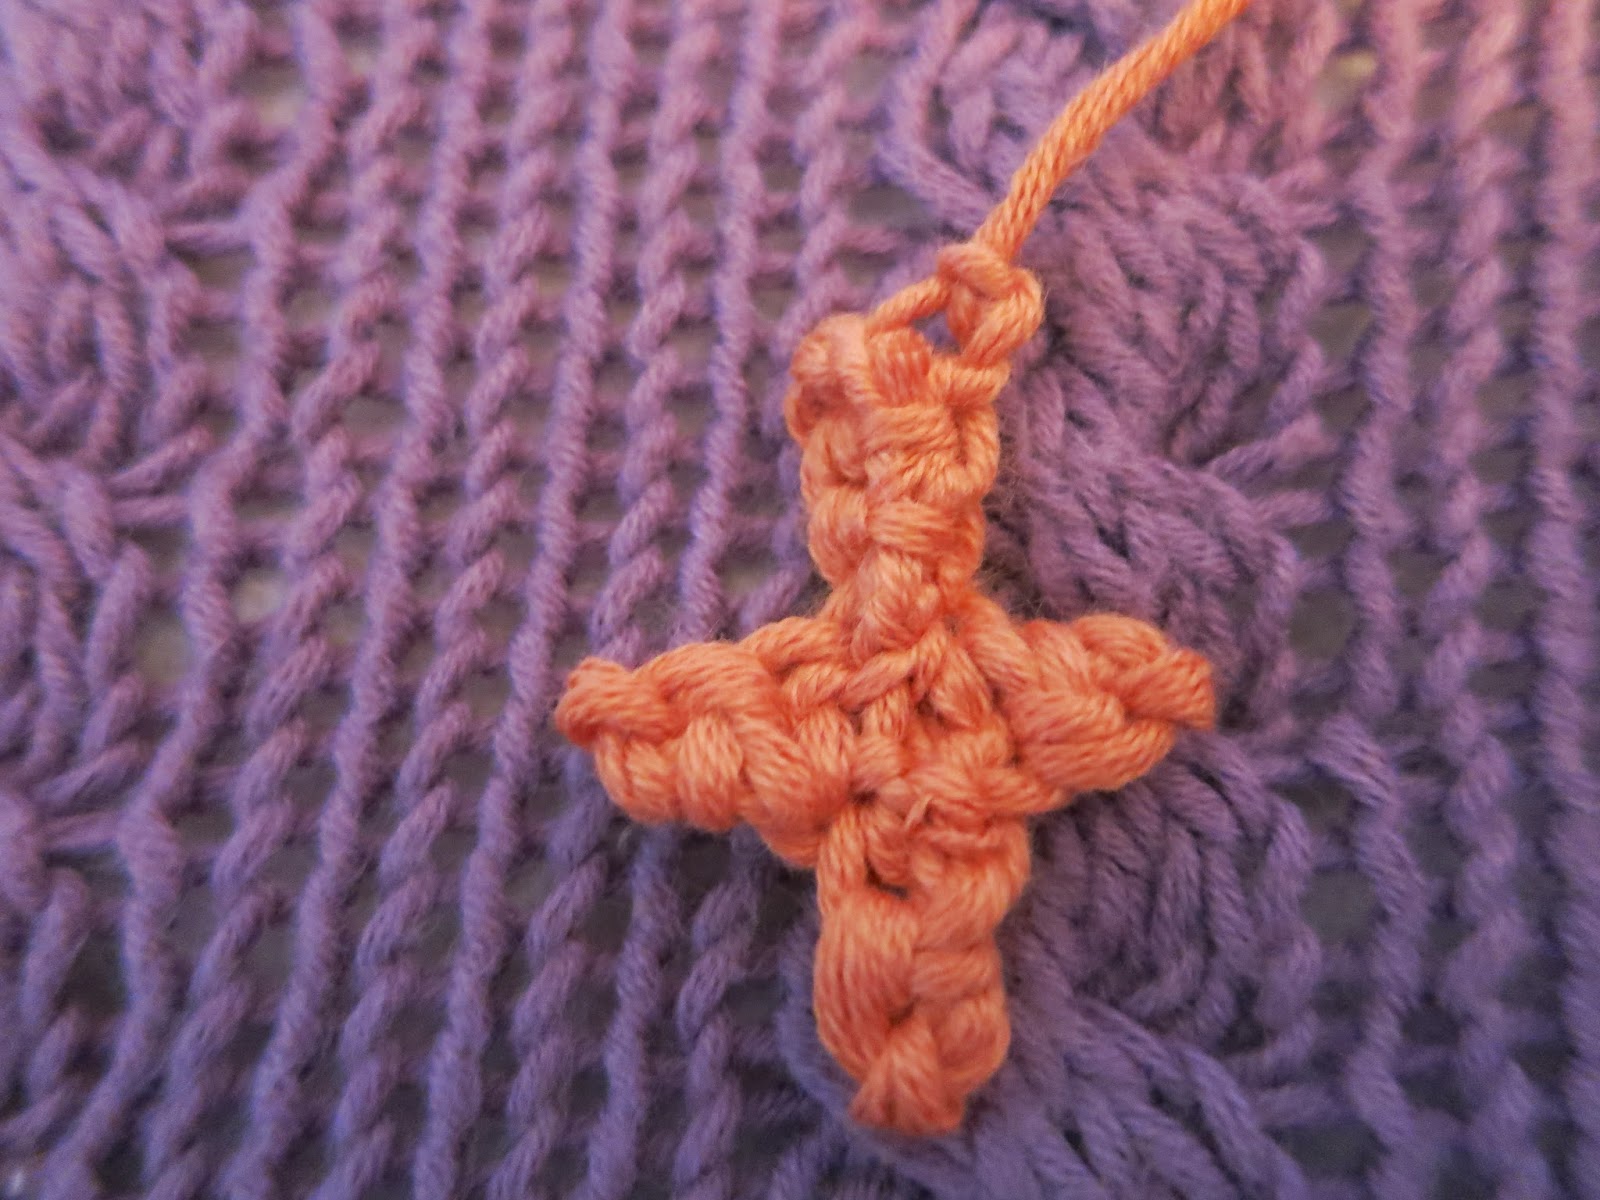
Using a length of orange yarn. Fasten in yarn on the inside, bring the needle out in between eyes (see picture for position).


Re-insert needle as shown,

Repeat on the other side and then work two stitches in between this two stitches.


Finish off with a straight line at the top and fasten off.
Fasten the end threads of the chick wings to the under side. Leave the beginning threads to sew the wings to the chick head.

Position and sew on as shown, fasten off inside chick head.


Take end threads of the legs and thread them through the back of the legs, loop under the stitch where you will have a small hole (where the three strands of the feet join together), bring the thread back up and finish off.


Take remaining beginning threads of the feet and use to fasten the legs to the egg shell bottom, see pictures for positioning. (make sure you have the back of the legs facing the back of the egg shell bottom).


Sew in loose thread ends of egg shell bottom and chick head.

Glue the top and bottom of the egg and gentle ease the crochet shell and head onto the bottom and top respectively.


Leave to dry and then.........
.jpg)
Ta-Dah!!!!!!!!!!!!
Now just in case you have been wondering whether I was going to make the pattern for my flower brooch available......

Happy Crafting x
No comments:
Post a Comment