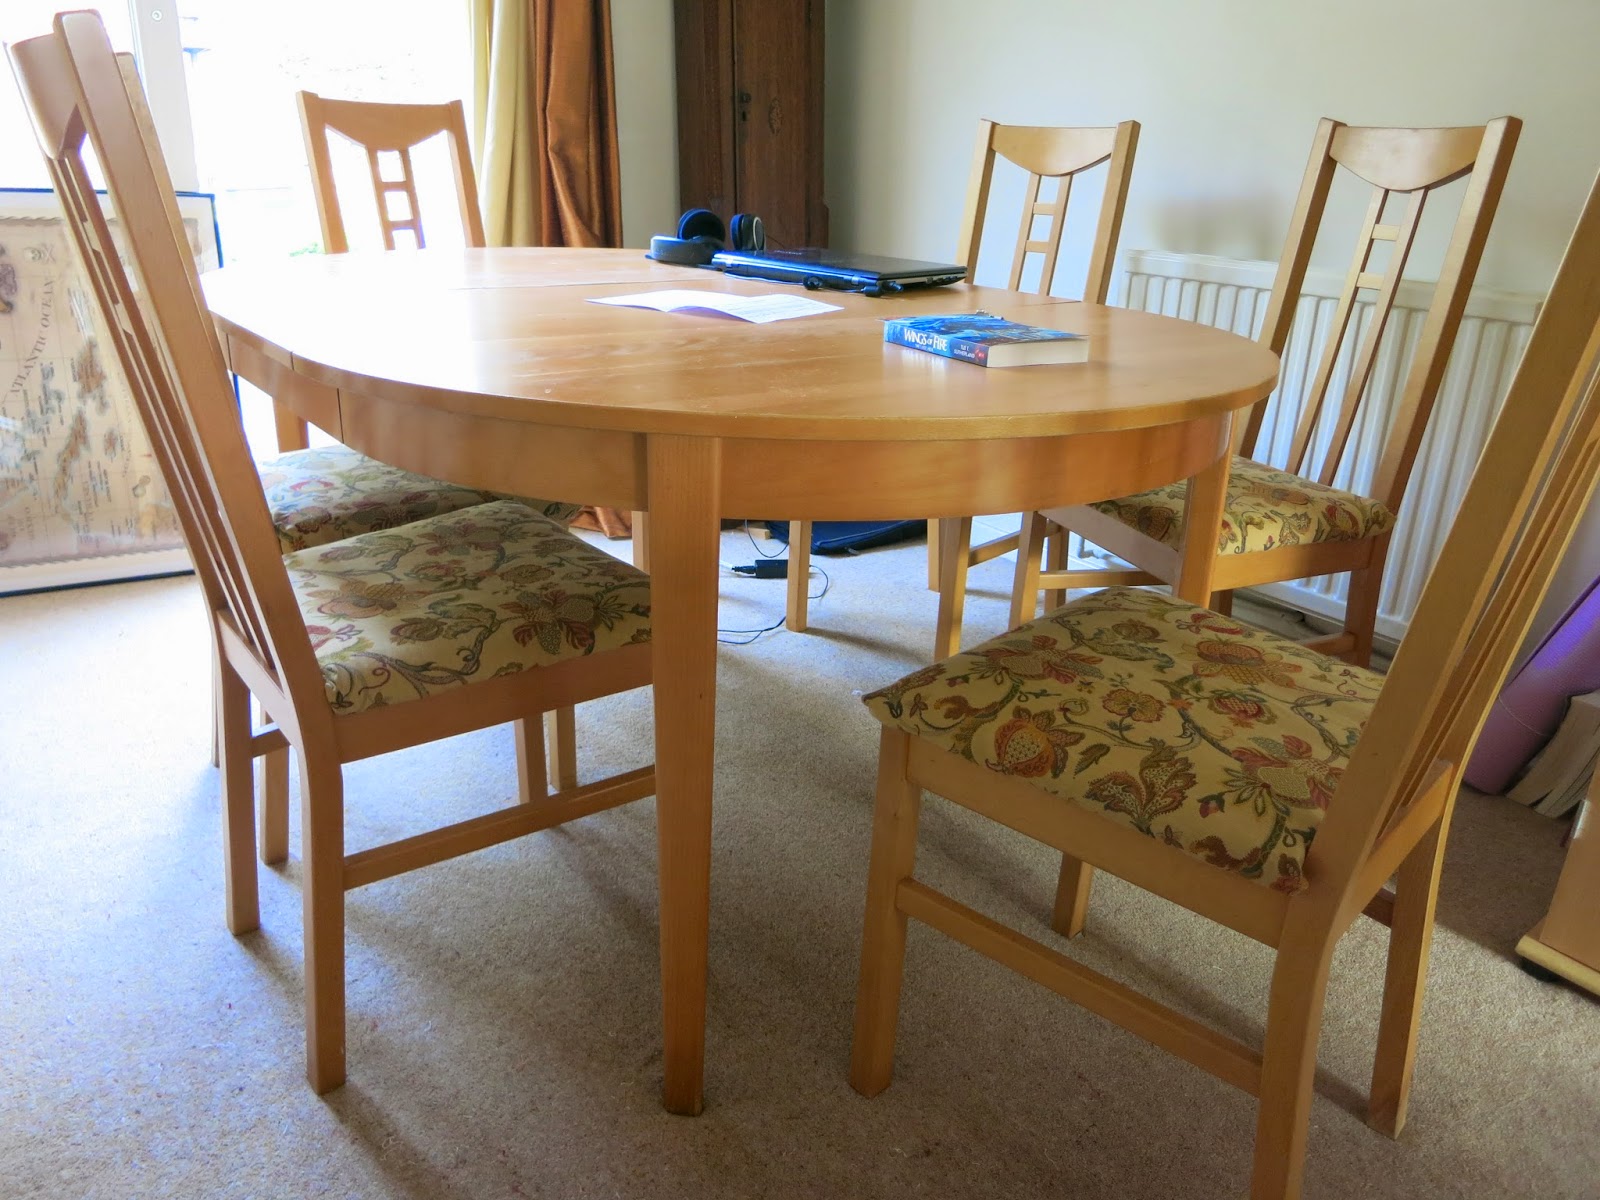
Doesn't my dining room suite look smart! I love this set so much, it brings back lots of happy memories. You see being a bit of a frugal household when it comes to 'things' it was a bargain purchase from ebay, I got the whole lot for £60 about 10 years ago. It's an ikea range ( I have since discovered this as I know several other people who have it!) and expands to seat 8 or shrinks to just a cosy 4. Now there is one small catch to the fact that I got it so cheaply....... it was in Nottingham, which is approximately 250 miles away from me. The good news was that my late mum, dad and sister lived up there and my sister was due to come for a visit. The even better news was that my sister had a big van to take her in her wheelchair. A couple of weeks after purchasing it she arrived on our driveway, completely wedged into her chair (an absolute health and safety nightmare!!!!!). The things we do for each other for love! After everything was taken out she was finally able to get out the van herself. The image of her sitting in her chair completely surrounded by chairs and a table is not an image I will every forget. Thanks Sally xxxxxxxx
Anyway, I recovered the seats when we got it with some left over curtain fabric I had from just finishing decorating our bedroom. A friend had a staple gun that I borrowed and so I set about them with vigour and got them done. As you can see from the photo below however, this fabric had quite had enough, in fact when I took it off the seats underneath looked better!
The first task was to take the seat off.....
As you can see by the various screws, this had obviously been done before, I wonder how many different seat covers they had before they came to me!
Once off the chair, I extracted the staples using a screwdriver and pliers.
The fabric I was using to cover them, was once again left over curtains! (I did tell you I was frugal). After placing the seat on top of it I cut a rough square ensuring that there was plenty of overlap to the underside of the chair.
I then cut off all the hems that were still on the curtains so that I had a nice flat piece of fabric to work with.
As I did not have a staple gun to hand, this time I decided to sew the covers, hopefully this would make them a little more robust as well. I had some spare plain fabric to use on the underside, but did make sure that there was enough overlap of the curtain fabric to ensure that the sides would be well covered.
At this point I turned the fabric to ensure that I had the pattern side facing the cushion pad. The next job was to cut the underside fabric to fit.
I was making a tube so that the seat could be slid in sideways, so the seams that needed to be sewn were the front and back edges. So I pinched the fabric together and pinned one edge.
and then pinched and pinned the opposite edge just in the centre to make sure that I could remove the seat pad without disturbing the pins. Once the seat pad was out, I finished pinning the second edge and got to work with the machine.
I made sure that the seam was sewn just the other side of the pin to ensure that I would get a nice tight fit, a sewn seam can be stretched far easier than the a pinned seam.
Once both seams were sewn, I turned the fabric the right way round and replaced the cushion pad to the middle of the tube.
Make sure you turn it over at this point and check you are happy with the fit, if it is too loose, remove the cushion pad again and sew the seams a little tighter.
Next turn the side seam towards the underside and cut off any excess material, ensuring you will still have enough to have a turnover at the edge and enough to reach the bottom of the seat pad.
Then neatly fold the corner (working from the front edge is wise to make sure you get it nice and neat) and pin along the first side. Once this is done repeat on the other side making sure there are no ripples in the fabric on the right side of the seat pad.
With a needle and thread sew both seams.
You are almost done! Place the cushion pad on your table top side down, back of the chair at the edge and replace the chair frame on top of it.
Make sure you have got the corners even both sides.
Locate the holes in the pad under the fabric with and mark with a screwdriver, replace screws through the fabric into the holes and voila you are done!
I hope we are going to get lots more happy family times around this table and I will always cherish the memories of how it came to be here :o)
Happy Crafting xx


No comments:
Post a Comment