I know I've been absent a while, I do apologise, the crafting has continued but I have been a bit busy with family commitments so the blog had to go on hold. I have also continued to do crafts at the Beacon Cafe that we run at our local church every other Tuesday. Last time a lovely lady came over to show me a beautiful necklace that she had made at a workshop whilst on a cruise and I jumped at the chance to have a go at it. We did them today and it was all a great success, all my materials got used up! So here is the necklace and a photo tutorial if you fancy making one yourself.
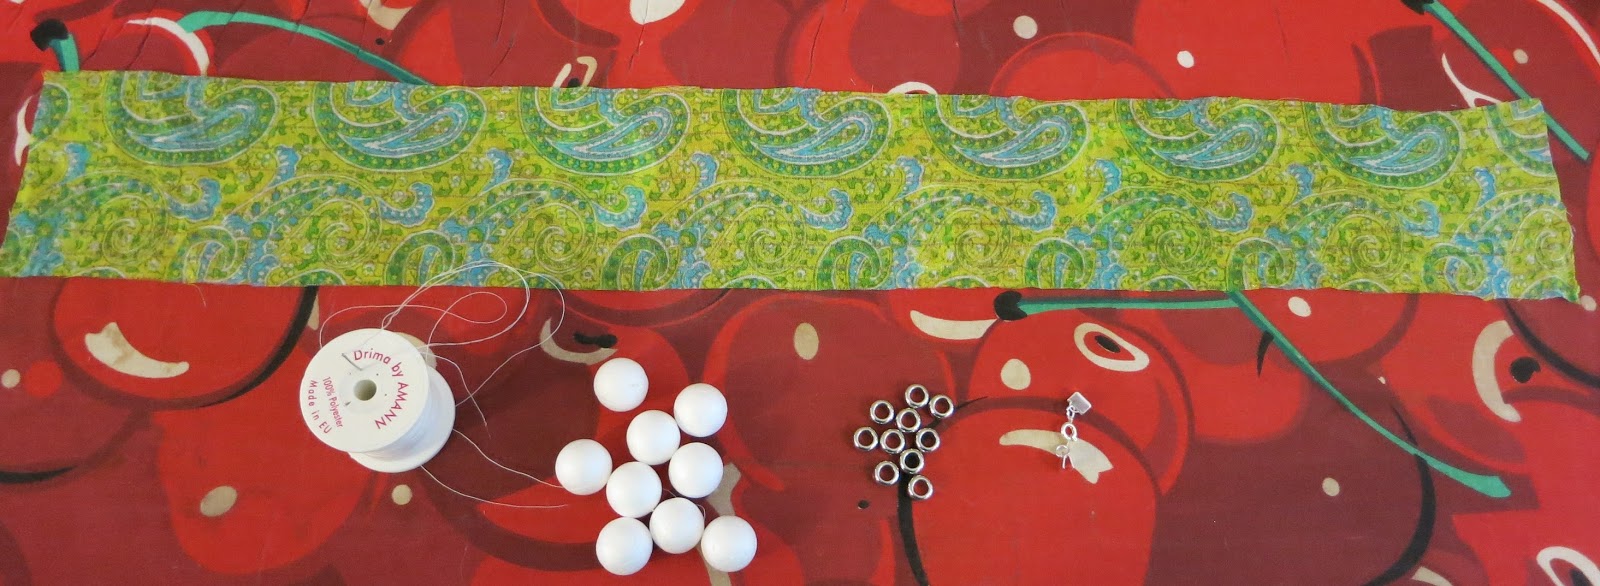
You will need: one rectangle of very flimsy fabric measuring 3" by 23 1/2"(I used recycled sari silk), 9 x 1.5 cm diameter polystyrene balls (I got mine from
the Range, though they don't appear to have them on their website), 10 spacer beads with at centre hole of at least 5mm (I got mine from
ebay), 1clasp fastener, 2 jump rings and 2 ribbon clamps (again I got these off ebay), a needle and thread. Other tools required are a set of jewellery making pliers to put the fastenings together and the clamps onto the fabric.
Instructions.
1. Fold the piece of fabric right sides together making a long rectangle. Stitch along approximately 0.75cm from the long edges, do not stitch over either of the ends. A back stitch will give you the most robust finish however a neat running stitch also works.
2. Turn the fabric the right way round, you will then have a long tube with two open ends.
3. Take one of the polystyrene balls and place into the tube, move it along until it sits in the centre of the tube of fabric.
4. Next scrunch one end together and push the fabric through one of the spacer beads, pushing it all the way along to the polystyrene bead.
5. Repeat this process of one side until you have 5 polystyrene beads in situ.
6. Then repeat the same on the other side of the centre bead.
7. You now need to put your ribbons clamps onto the clasp fasteners.
8. You are now ready to fit the ribbon clamps onto the end of your fabric tube. First fold into the tube the very ends of the fabric.
9. Fold the end into thirds.
10. Side the clamp onto the end and use your pliers to push the clamps into the fabric. Repeat 8 - 10 on the other end.
And now you should be done!
Other crafts that we have done over the last few months are, lavender bags, gift bags and decopatch boxes! We have also got our first blanket almost finished.
I am busy doing another craft fair this coming Saturday in my local town, why not come along if you are local......
I will try and post some of the goodies that I will be selling before Saturday.
Happy Crafting xxxxxxx


No comments:
Post a Comment